For this technique, all you need is a corner rounder punch and some paper.
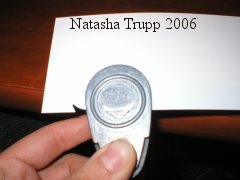
1) First step, carefully take off the corner guide and set aside where you won't lose it.

2) Punch your paper once. You can start wherever, it doesn't matter. It's helpful to lay the flat edge of paper against the part of the punch that the corner would normally fit into (it looks like a little v).

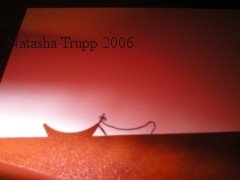
3) On this photo, I've traced one of the punch-outs to show approximately where you want place the next punch. Basically, I line up the punch next to the previous punch out, the little curve at the top of the punch just barely overlaps with that part of the punch out. This is almost impossible to take a photograph of or to verbally describe, so I highly suggest practicing to get a feel for it. The overlapping is so minimal that it is barely visible. Also, it's better to not overlap enough, then to overlap too much. If you don't overlap enough, you'll still get a good scalloped shape, if you overlap too much, you'll get an interesting wave-like shape.
4) This photo shows the physical placement of the punch inregards to the previously punched out shape.
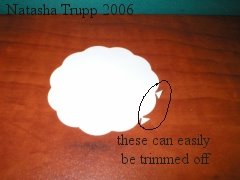
5) Then, just keep punching. And there you have it, a lovely scalloped edge!

6) It's quite quick and it works nicely for circles too. If you do a circle, remember that it might not match back up exactly. If you see that that is going to happen, start adjusting the overlaps to allow this, this will end up with requiring a little bit of trimming though. When doing a circle, remember to keep the little corner 'v' as flat as you can against the curve of the circle.
posted by Natasha at
3:15 PM
|
6 comments
![]()
